
Special filters are used in these humidifiers that are designed to remove pollen, dust, smoke, and other contaminants.
The filters become dirty with time and need to be changed as well. Changing the filters alone will not be helpful to keep your humidifier hygienic.
Various contaminants and scales from hard water can clog the humidifier, increasing the chances of the growth of microorganisms, germs, and bacteria.
It would help if you kept your Cool Mist humidifier clean to feel better yourself with its regular maintenance.
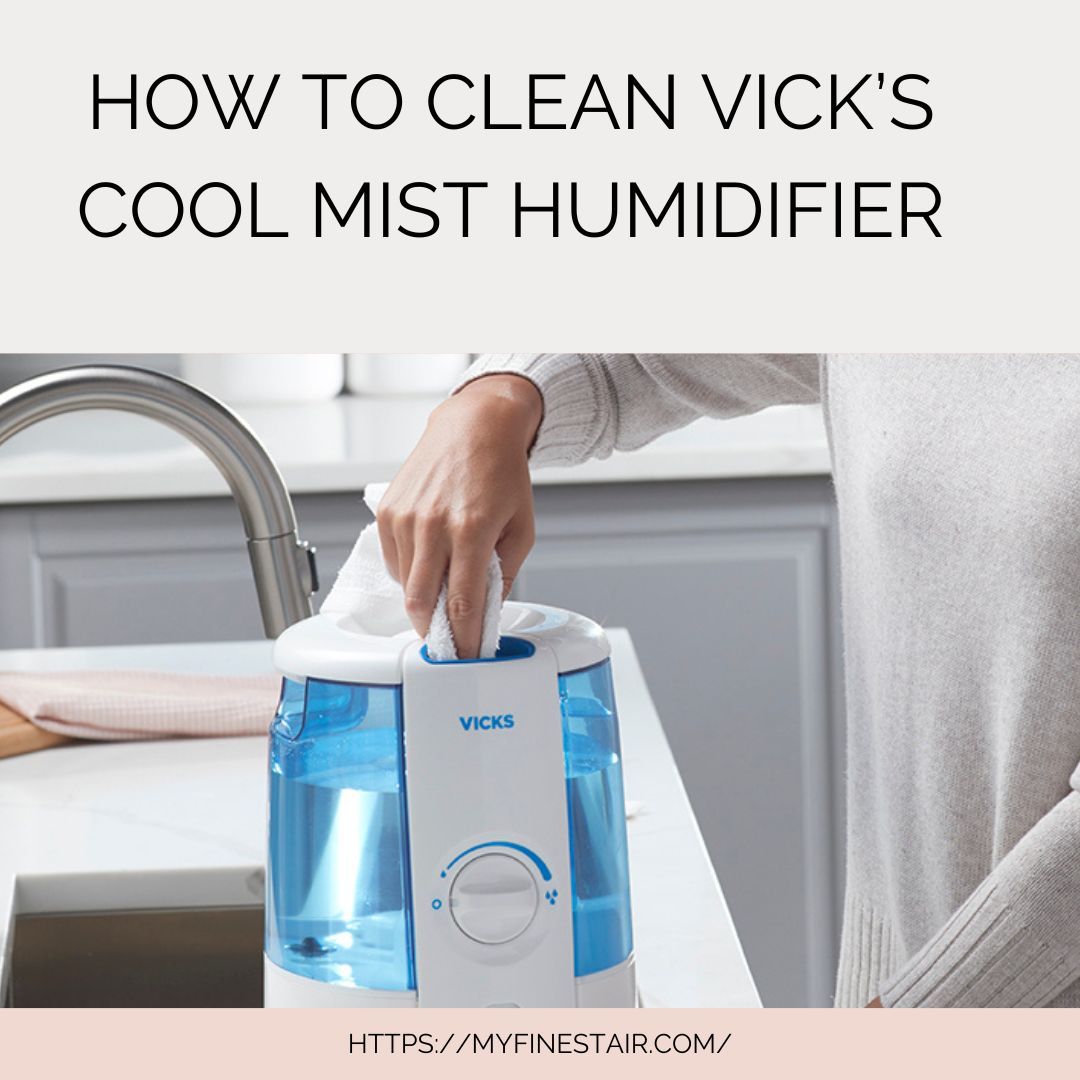
Let’s have a look at how to clean Vicks cool mist humidifier.
Daily Cleaning Routine:
- Please turn off the humidifier and unplug its cord from the wall outlet. Perform Vicks humidifier cleaning daily on a stable, flat surface having adequate space.
- For models that have a removable container, pull out the water tank, followed by the water tray. Both these parts are attached to the Cool mist base, and freeing the tank allows lifting the tray out quickly.
Be careful when cleaning to avoid damage to the wicking filter. A Cool mist that does not have a water tank separates the top housing, and places it upside down on a stable, flat surface.
Do not rest the house on the water pickup tube, as it may damage it. - Remove the cap of the water tank and any remaining water inside it. Flush the container using fresh, warm water – make sure the water is not hot.
This should be done for models that have a separate water tank and water tray. Cool mist models do not have a water tank and instead use their base as the water reservoir.
Make sure there is no water remaining in the base and flush it with warm water followed by wiping it with a fresh, clean cloth or a paper towel to dry it.
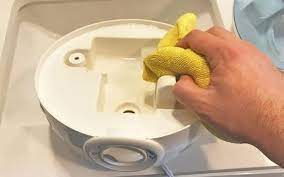
4. Wipe off all the areas where you can get to the water tray and tank. Also wipe with a clean, dry cloth on the top housing’s exterior.
Clean the remaining unit its base and cord with a very slightly dampened cloth. You must keep the water clear from any vents, dials, or other mechanical or electrical access areas.
You can see our blog: Crane Humidifier Not Working- Common Problems and Solutions
Cleaning Unit Weekly
- Empty the water tank and flush it using warm water and set it aside for some time.
Please turn on the humidifier now; the tank should still be removed and let some air flow through its wicking filter.
When the screen is completely dry, you may stop. Turn the humidifier off and unplug it from the socket.
For models that do not have a removable water tank, first, turn it off and unplug the device.
Then remove the top housing, make sure you do not rest it on the housing tube, and dump out any water contents from it, wiping and drying it like a daily cleaning routine.
2. Gently pull the wicking filter up from the water tray carefully, avoiding tearing the filter. This applies to both types of humidifiers, with or without a removable water tank.
For some models which use cartridge filters in the top housing, replace these filters instead of cleaning them.
3. Pull the water tray out, separating it from the humidifier’s base. Pour one or two cups of undiluted vinegar into the tray and let it sit undisturbed for a good 20 to 30 minutes.
Vinegar will help loosen the deposits of scale left behind by the water.
For models without a removable water tank, use a sponge or cloth dampened with straight vinegar and wipe the base’s interior to remove the scale, and rinse with warm water.
4. Separate the pickup tube to clean it thoroughly. Turn the top housing upside down and rotate the tube in the direction indicated by the arrow.
Now drop the tube in a bowl of undiluted vinegar and let it soak for around 20 minutes to help loosen the deposits of scale.
Meanwhile, wipe the top housing’s interior using a cloth or sponge dampened with vinegar and get the area around the pickup tube hole as well.
5. Wipe the humidifier’s interior water tray with a vinegar-dampened sponge/cloth, similar to how you wash the interior of a dish or pan.
This will remove any deposits of scale which were loosened already by soaking in vinegar. Rinse with water once you are done.
6. Rinse the pickup tube of the humidifier with warm water and run some water through this tube as well.
7. The exterior of any cool-mist humidifier must be cleaned every week to ensure the cleanliness and attractive look of the device.
A dry cloth can be used to clean the exterior around the filters, inlets, outlets, mechanical, and electrical parts. Dampen the cloth to clean the underside and power cord as well, where appropriate.
You can visit our blog: Portable AC Keeps Shutting Off – How To Fix It For Use?
Post-Cleaning Disinfecting
- Fill the cool mist humidifier’s water reservoirs with a mixture of 1 tsp bleach per gallon of water.
Where applicable, detach the pickup tube and soak it in the base filled with bleach water and let it soak for a while.
Wait for 20 minutes while stirring water on and off or moving the container, spreading the bleach to penetrate appropriately in every part.
2. Wipe the interior surface regardless of the model, using a sponge or cloth dampened with bleach water.
Avoid any abrasive cleaning agents and do not expose any electrical or mechanical parts or similar parts to the bleach water.
3. Pour out this bleached water, remove the pickup tube, and carefully pour out the liquid while avoiding exposure to any vulnerable areas of the humidifier where applicable.
Rinse the water reservoir or base completely using warm water, and flush the pickup tube on the humidifier as well.
When the smell of bleach is gone, clean it thoroughly and dry it out immediately to avoid contamination.
4. Any exterior surfaces that may have been wet should be dried immediately. Attach the pickup tube again and insert the tube’s prongs in the top housing hole.
Turn the tube towards the arrow for ‘on’ or the opposite depending on how you removed it. Reassemble the humidifier as the final step, according to the instructions of your particular model.
The above guide has provided an extensive guide as to how to clean Vicks cool mist humidifier, so get going and start on the cleaning right away!
Related: