

Being forced to turn off your dehumidifier and wait for it to drain can cause serious damage if left unattended. Your car smells like mold, and mold grows in your closet and your home's air vents.
Lots of moisture is sitting around in your house, which makes it necessary to read this article today.
Toshiba Dehumidifier Not Draining Through The Hose
This is a common problem with Toshiba Dehumidifiers. You must take the Dehumidifier apart and clean out the hose or tube draining the water.
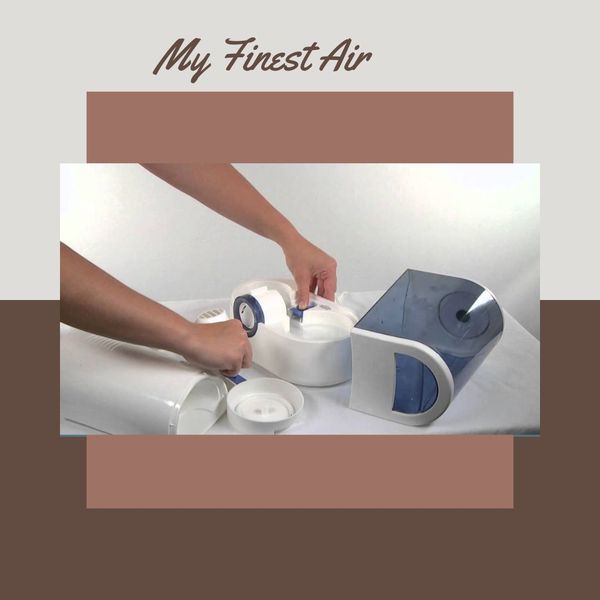
How To Clean? - Steps To Follow
- Remove all of the screws on both sides of your Toshiba Dehumidifier or any other brand holding it together.
- Once you have removed all of the screws, carefully pull apart your Dehumidifier at the seam where the top meets the bottom half.
- Remove any screws holding down or in place of your fans, coils, or other pieces in your Dehumidifier.
- Remove these screws and set them aside, so you don't lose them.
- Next, remove any plastic pieces covering up any hoses or tubes on your Dehumidifier.
- Now that you've removed all of these pieces, clean out all the dust and dirt that has accumulated inside.
To do this, you'll need to remove the bucket and soak it in hot water for about 10 minutes to loosen up any debris. Then get a sponge or cloth and scrub away at any stubborn spots.
Once the bucket is clean, put it back on top of your Dehumidifier and attach it with a screwdriver (or whatever available tool).
Why Is My Idea Of A Dehumidifier Not Draining Through A Hose?
However, if your dehumidifier is not draining into a bucket, it might be time to take action. Here are some reasons why this happens and how to fix it:
Step 1 – Inspect The Water Drain Hose
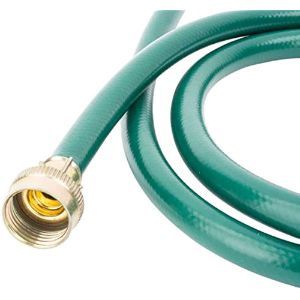
The first thing that you should do is inspect the water drain hose. You want to ensure that it is not blocked or clogged up with debris or dirt. Remove the hose from the unit and check it for any clogs or blockages.
If there are any obstructions in the hose, then it will need to be cleaned out before proceeding with any further troubleshooting steps.
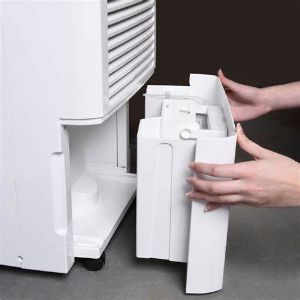
Step 2 - Inspect The Bucket
Next, you will want to inspect your bucket to see if there are any obstructions within it as well. A common problem with these devices is that they will often become clogged up with dust and other particles over time, preventing them from functioning properly.
To fix this issue, all you need to do is remove the bucket and give it a thorough cleaning before placing it back in its original place.
Step 3 - Make Sure That The Water Is Not Draining Into The Sump Pump
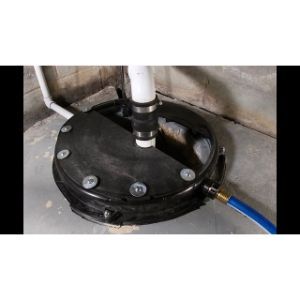
If you are still having issues with your dehumidifier not draining water into the bucket after following these steps above, there may be another problem that needs to be addressed. One of the most common issues is that the water will sometimes drain into the sump pump rather than your bucket.
This can happen if your dehumidifier does not have an overflow pipe or if the pipe has become clogged up with dust and other particles, preventing water from draining properly. For this issue to be resolved, you must remove any obstructions within the overflow pipe and then reassemble everything again before turning on your dehumidifier.
Step 4 - Check Your Dehumidifier's Filter
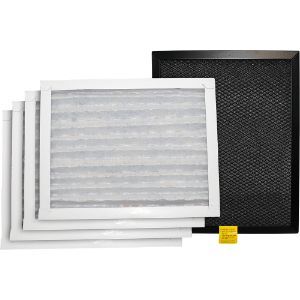
Another common issue is that no filters may be attached to your dehumidifier! This means dust particles and other contaminants can pass through without being filtered out first.
To resolve this issue, you must attach any filters that come with your dehumidifier and turn it back on again. If using an electronic filter (which most modern ones do), ensure they are clean and in good condition.
Step 5 - Check Your Ventilation System
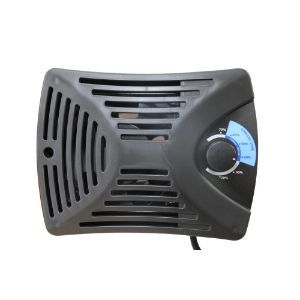
If you have a ventilation system in place, ensure that this is working correctly and is not blocked by any furniture or items in the way. It should be pulling air from outside into the room, not blowing hot air around inside!
Step 6 - Check Your Humidistat Level
-
The humidistat controls how much moisture the machine puts into the air. If it's set too high or too low, this might cause problems with your unit overheating or freezing up respectively. Check this setting in case you've accidentally changed it in error!
Step 7 - Check Your Filters Again
One of the biggest causes of dehumidifiers breaking down is an accumulation of dust and dirt within them. This blocks the airflow and makes it harder for the machine to work effectively. As a result, you will have to clean your filters more often than if you did not have this problem.
Step 8 - Clean Your Dehumidifier
If you want to remove any remaining mold or mildew that may be growing in your dehumidifier, then you should clean it with bleach. You can use any kind of bleach available; however, if you want to be sure that all of the mold and mildew are removed, we suggest using Clorox bleach or Clorox 2 spray cleaner because these products contain bleach as one of their ingredients.
Instructions
You should follow these instructions when cleaning your dehumidifier:
- Remove all the removable parts from your dehumidifier (including any removable grills).
- Rinse all of these parts with water until they are clean, and then let them dry for at least 24 hours before putting them back into a place where they belong within your unit.
- If dirt is left on these parts after rinsing, you can use a light vacuum cleaner to wipe them down.
- The next step is removing any filters from your dehumidifier and cleaning them with warm water and dish soap.
- If possible, you should also try to remove any dust or dirt trapped inside the unit using an air compressor or air hose (this will require a little time). After cleaning each filter, allow enough time for it to dry before placing it back into position within your unit.
FAQs
1) Will my warranty be void if I fix the problem myself?
Most manufacturer warranties cover certain repairs but not others. If you're unsure if repairing your appliance is covered under warranty, call the manufacturer or visit their website.
2) How do I know if my filter needs replacing?
There are two ways to check if your filter needs replacing:
1) Check if there is any visible dirt on top of your filter;
2) Check if there is any white dust coming out when you run the dehumidifier (this is usually a sign of a clogged filter).
If either of these applies to you, it's time to replace your filter.